Hello,
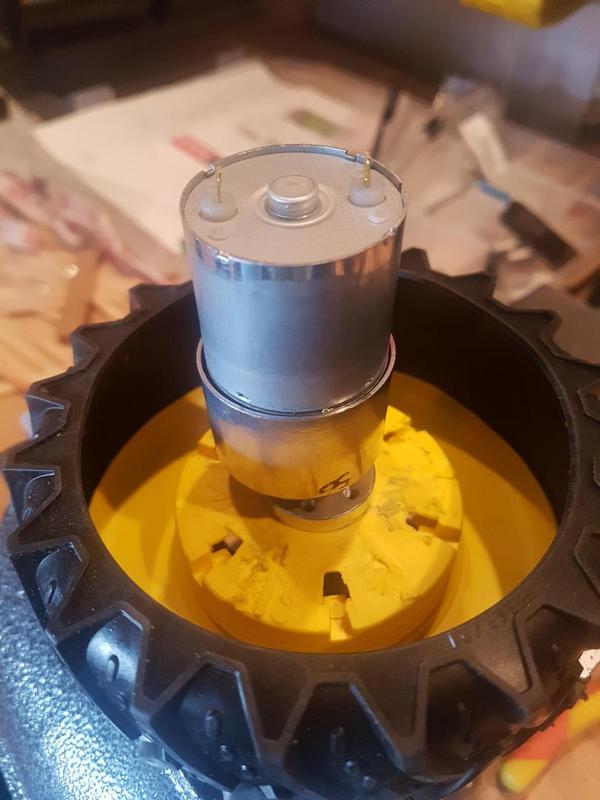
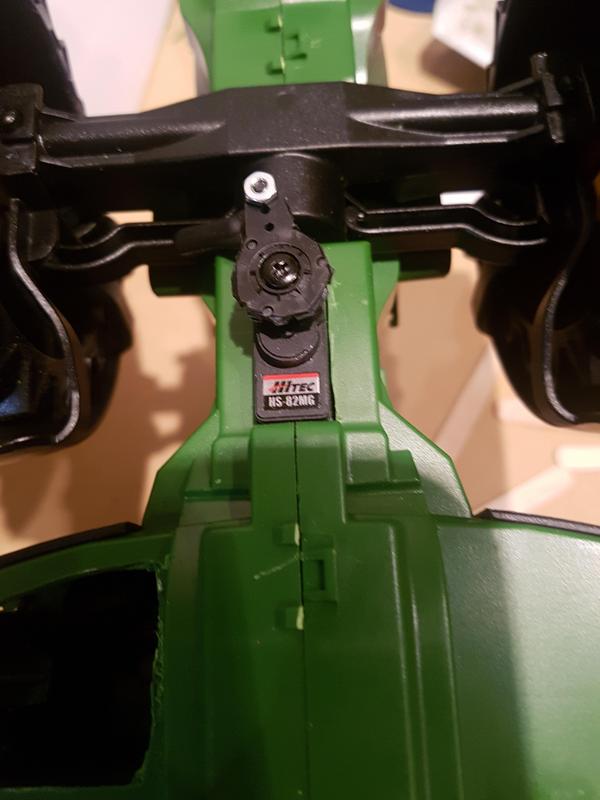
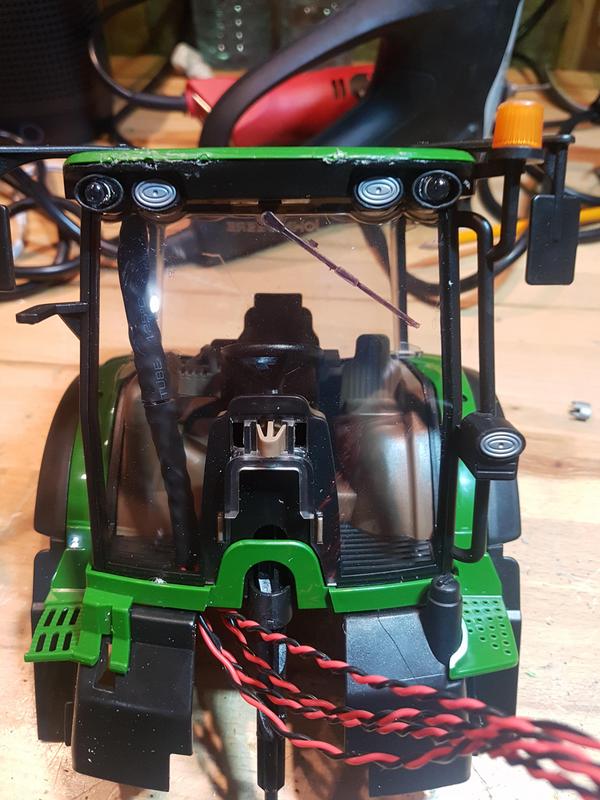
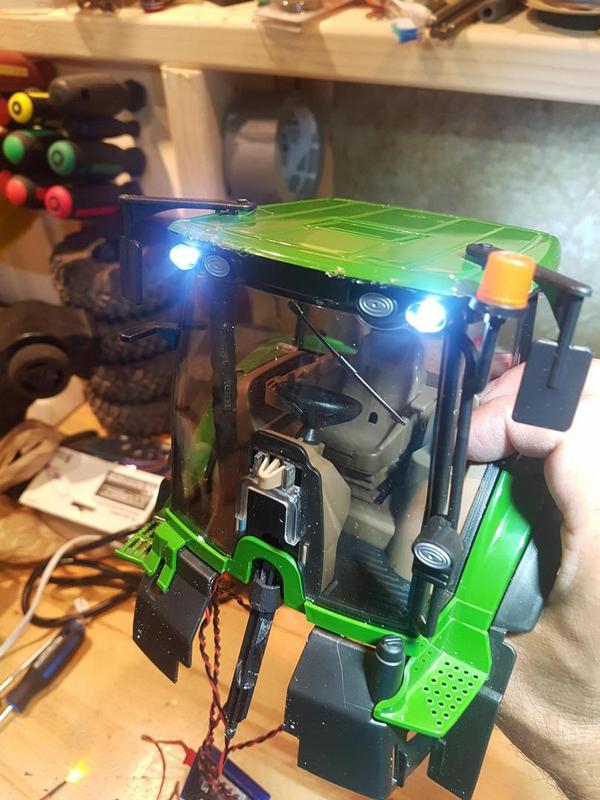
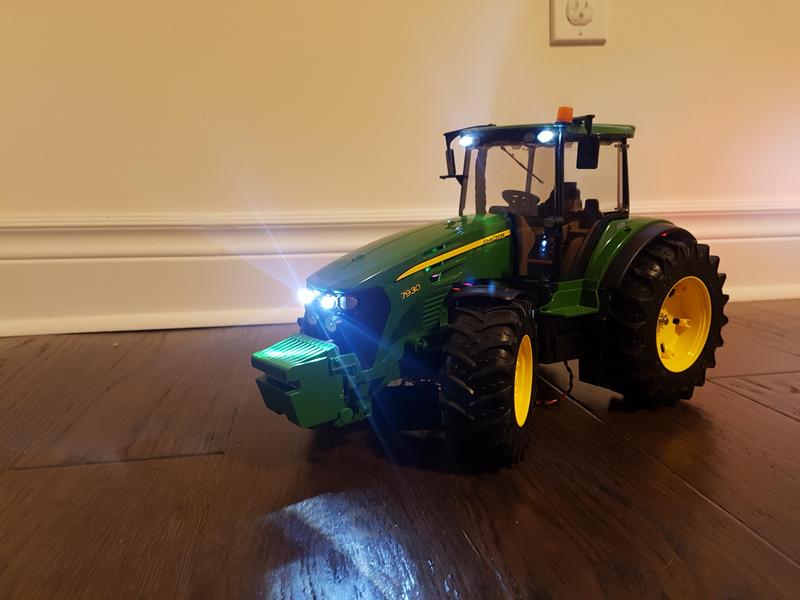
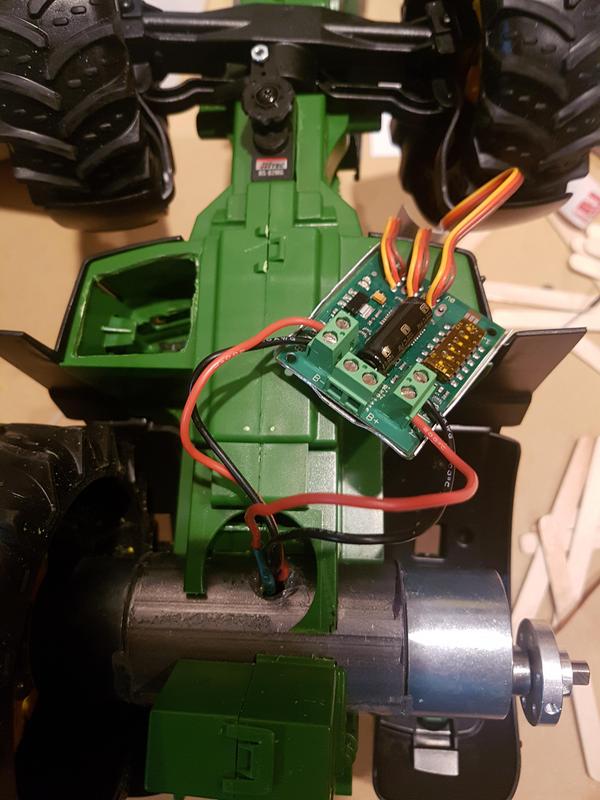
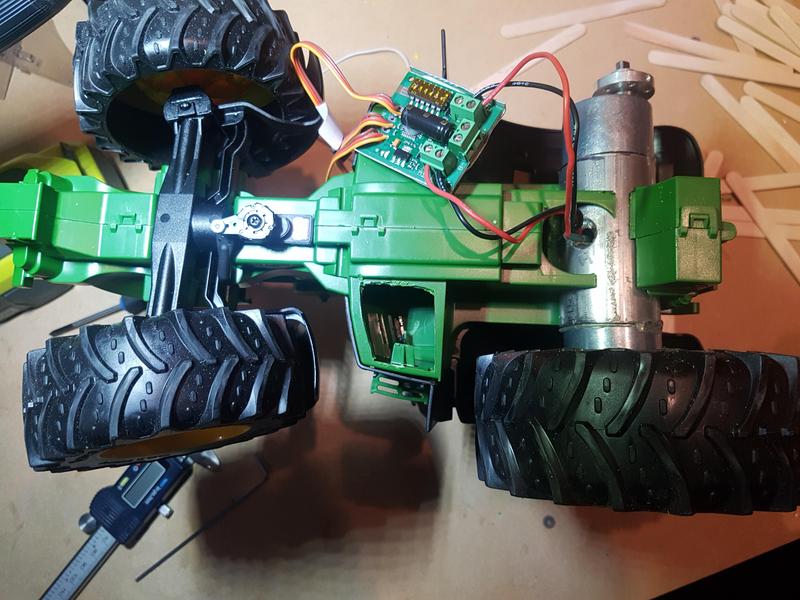
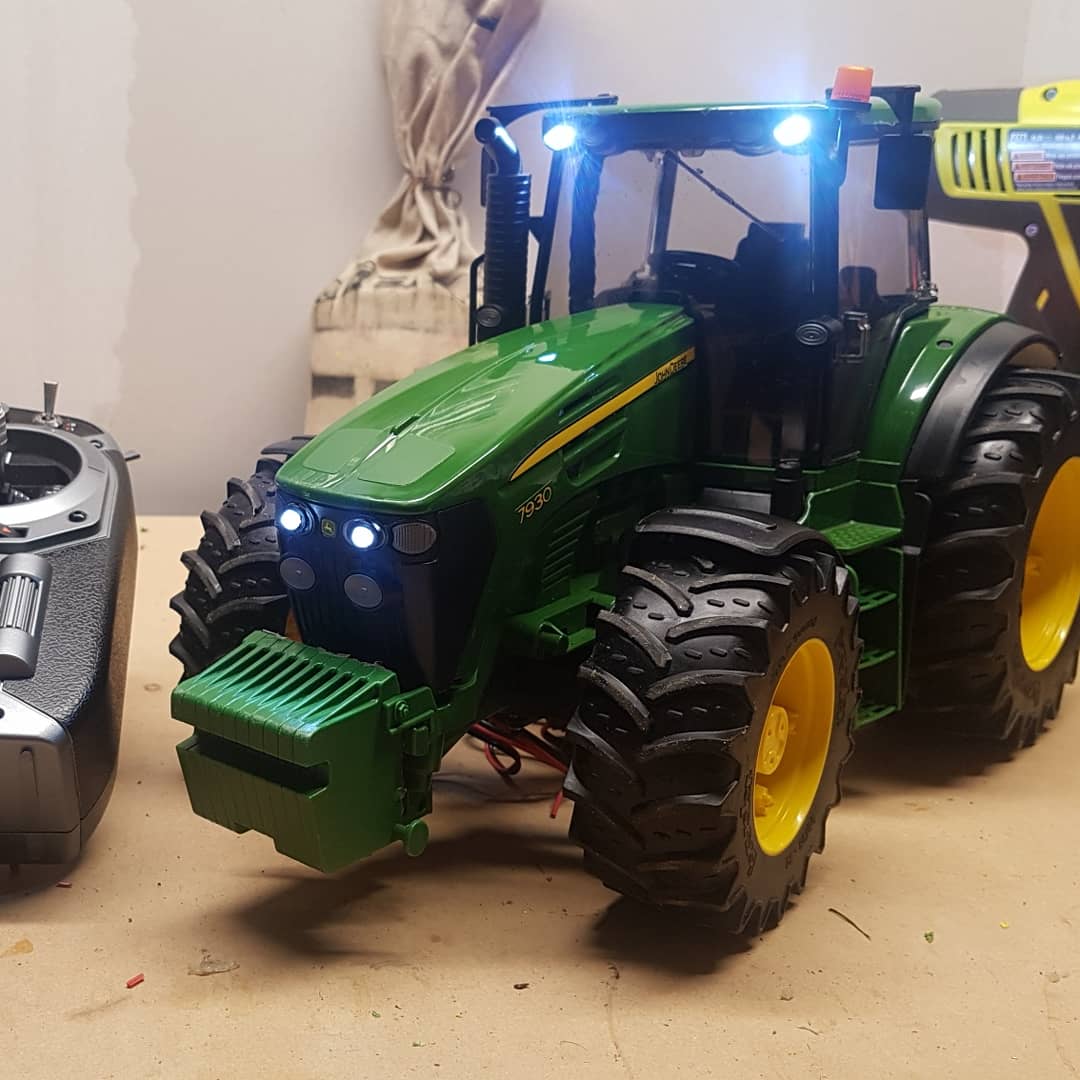
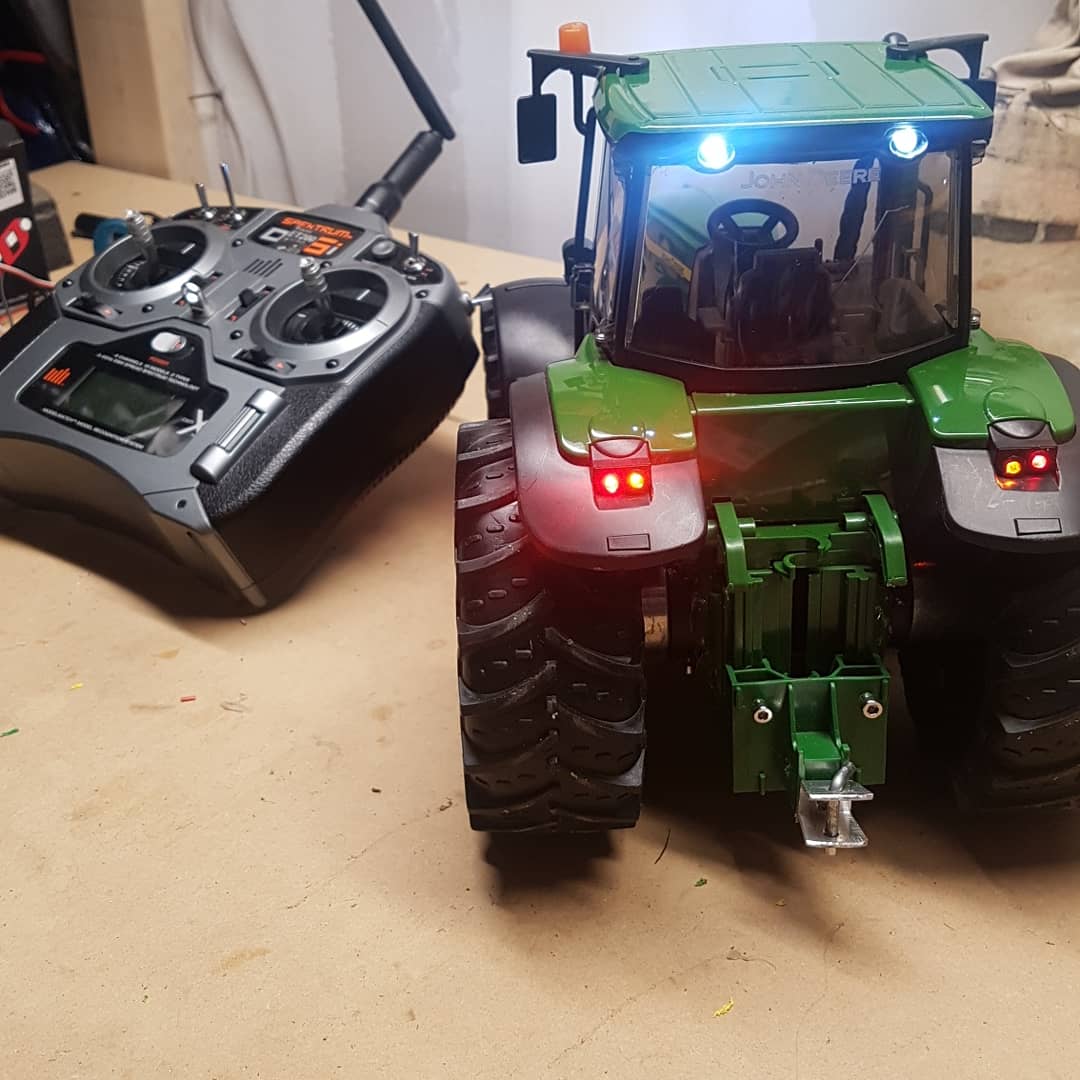
I am converting a John Deere 7930 to RC. the first steps are to tear the model apart and remove components that are not needed. Then I will install the 2 motors 50:1 which will be attached to a sabertooth 2x5 so I can have differential steering. The steering will be done via a small servo which hopefully will be able to handle the weight on sand or dirt. lastly lights will be added to the cab and front/back of the tractor.
so lets get started with the tear down. not to difficult but this is how I went about it. let me know if you have questions and I can get into more details.
pop off hood should be easy lift it all the way and pull out.

next I remove the stairs. there is a tab under the first step pull up on the tab to let the stairs slide out.

next the exhaust is removed. there is a tab beside the stairs which needs to be pressed toward the engine. the next tab is on the engine and should be pushed toward the cab.

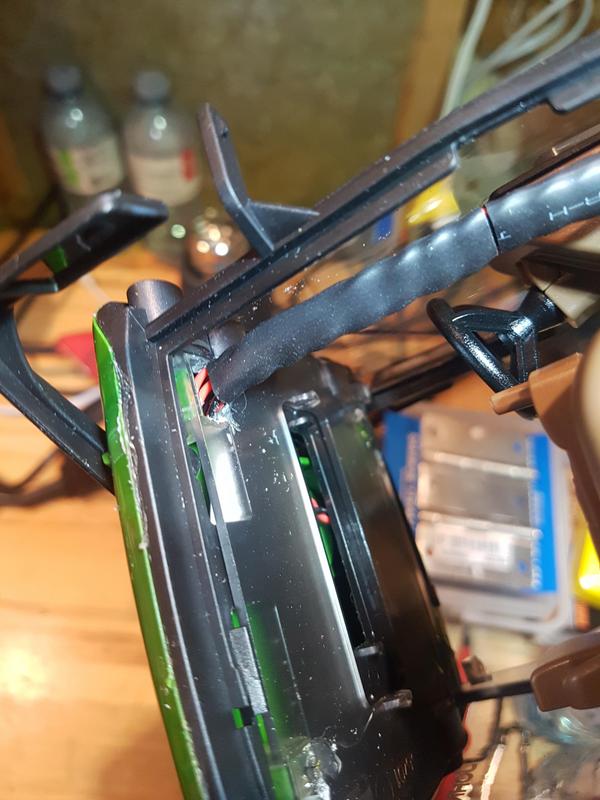
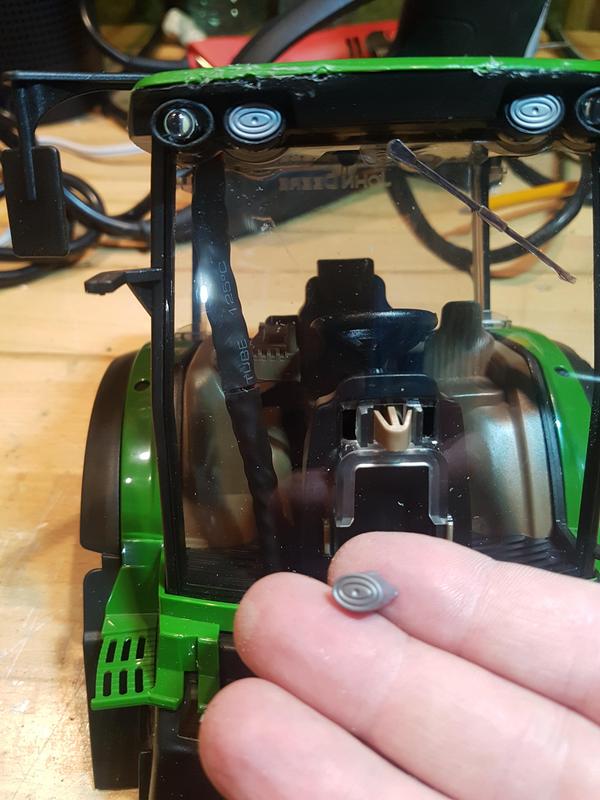
Now the hard stuff! the Cab has 4 tabs to remove from the chassis. they are all part of the glass. 2 tabs on the back and 2 tabs on the front.
you will have to slide a thin pik to push the tabs away from the chassis and pull up. pictures dont really help with how but hopefully you see where they are in relation to the body of the tractor.


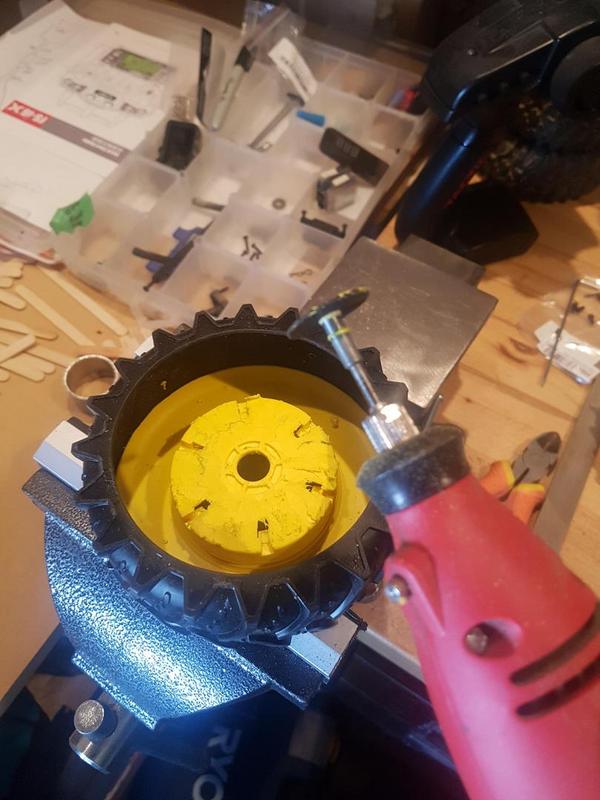
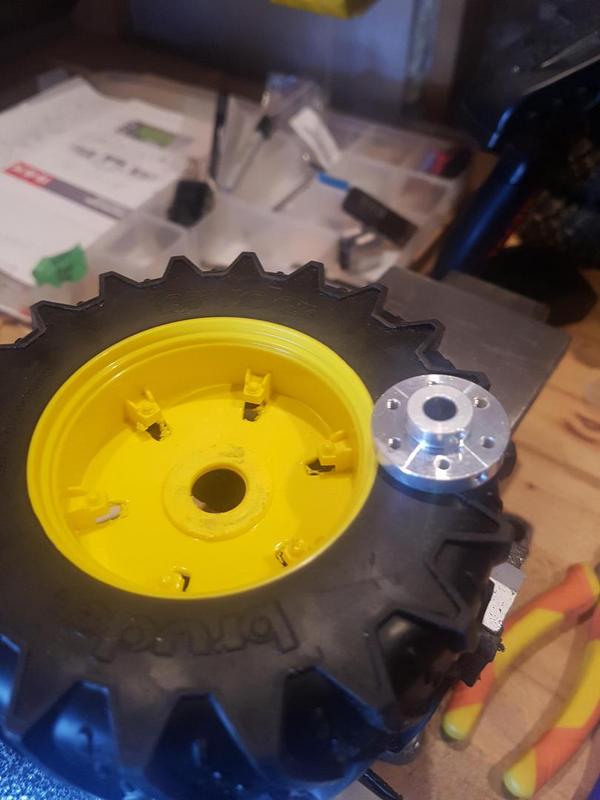
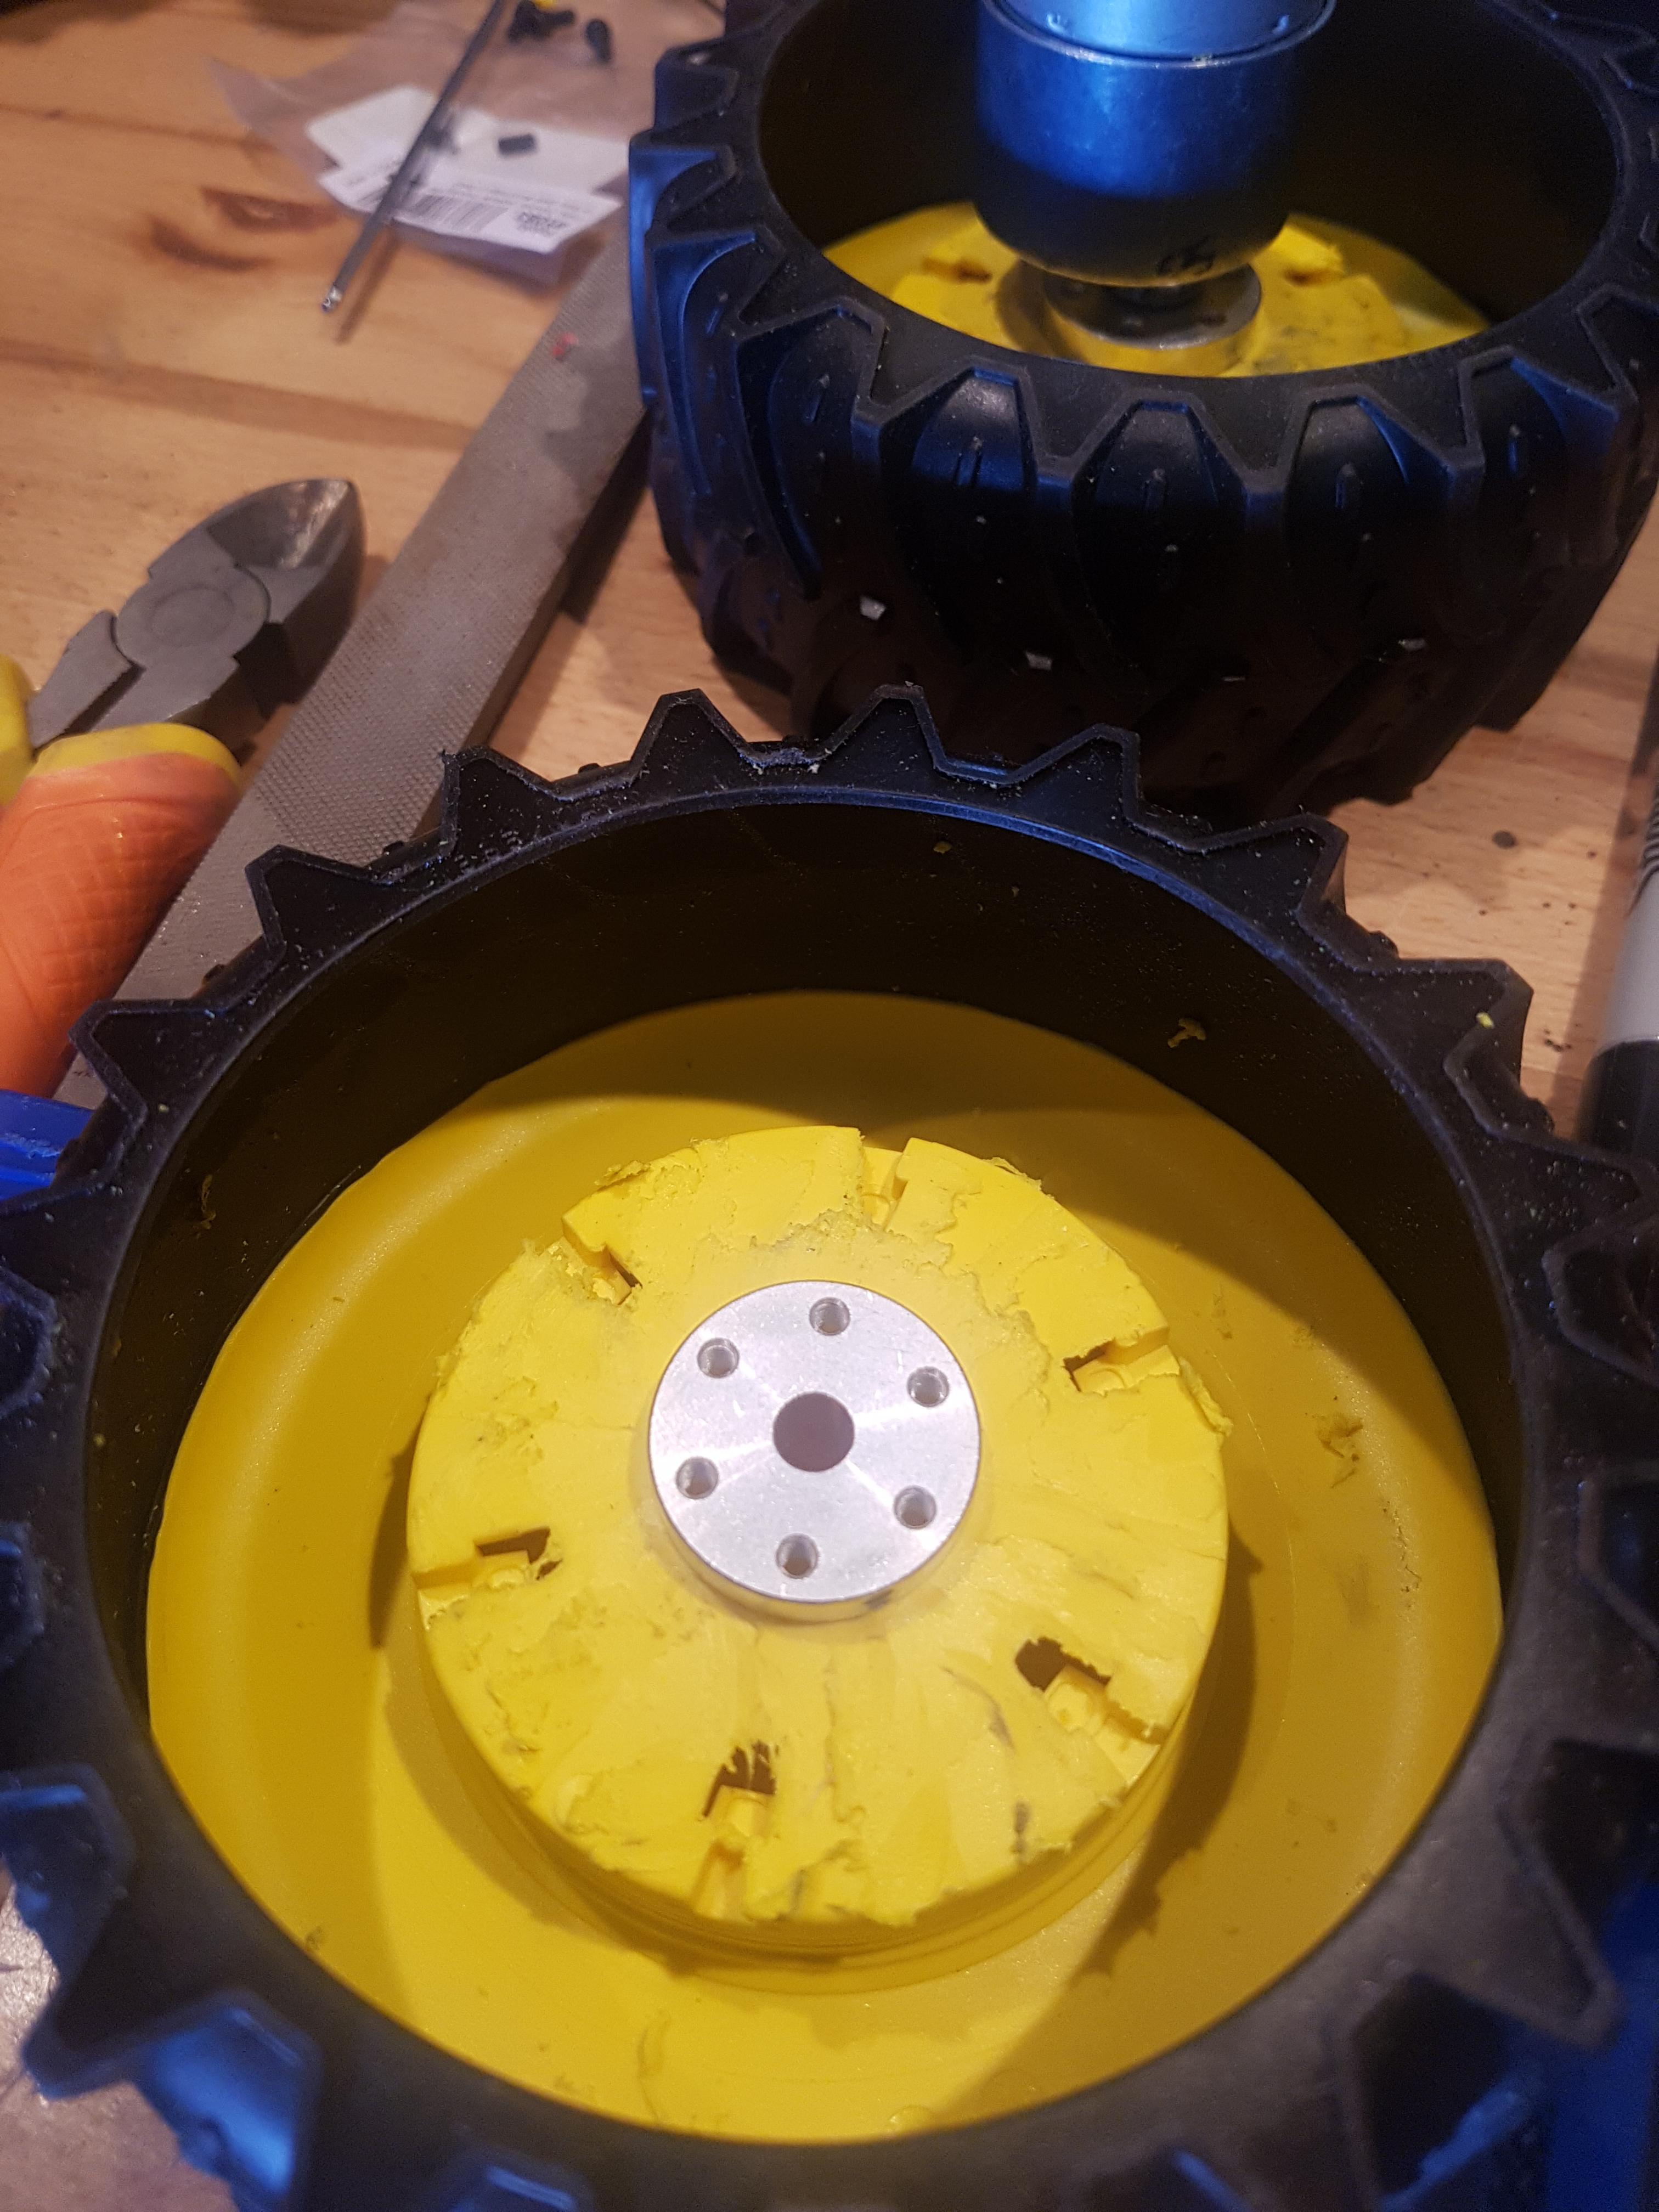
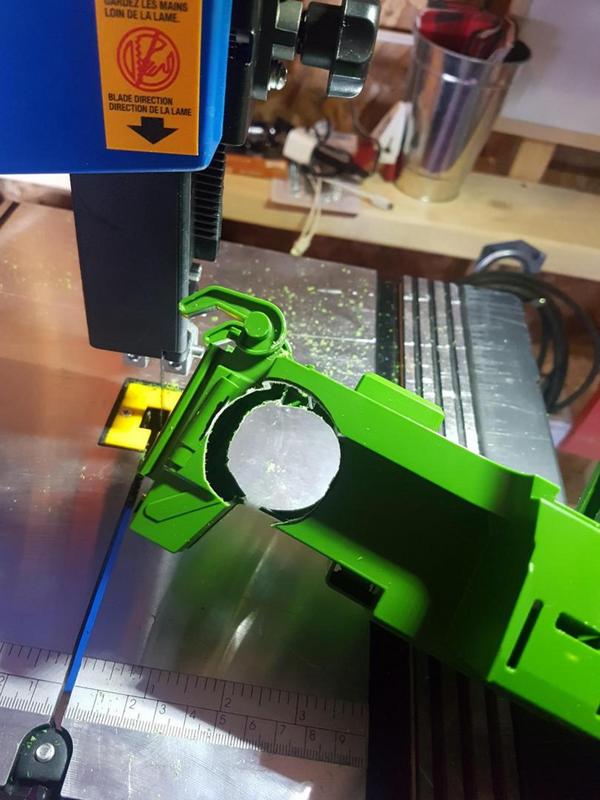
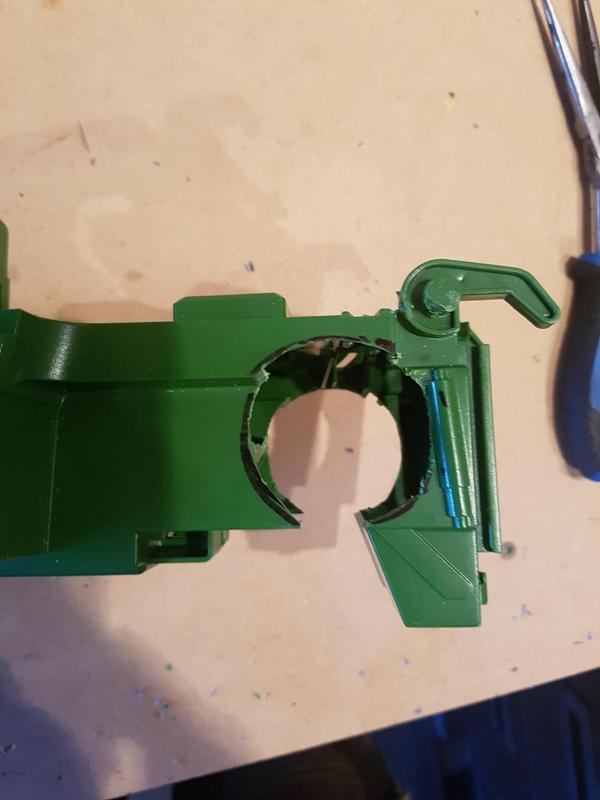
with that out of the way you can cut the axle in 2 pieces to remove the rear tires.

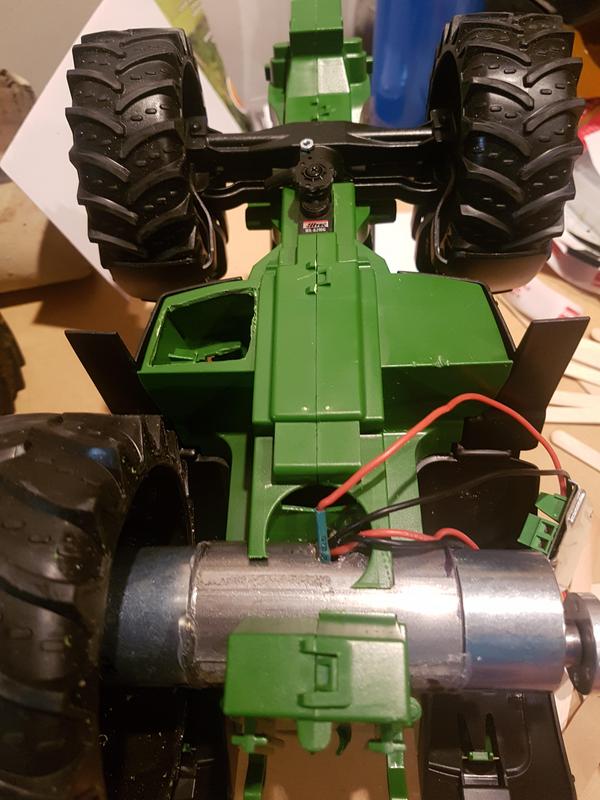
still with me? ok well now comes the task of popping off all the clips holding the chassis together. there are some hidden but we will worry about that after. for now. gently lift the ones you can see and slowly move them apart or stick a screwdriver in there to keep them apart. There are a lot of tabs so take your time. I believe I might have missed a few inside there the black radiator is.

Hope that helps for the breakdown. next time we will start working on making the modifications with the new motors and wheels.
I am converting a John Deere 7930 to RC. the first steps are to tear the model apart and remove components that are not needed. Then I will install the 2 motors 50:1 which will be attached to a sabertooth 2x5 so I can have differential steering. The steering will be done via a small servo which hopefully will be able to handle the weight on sand or dirt. lastly lights will be added to the cab and front/back of the tractor.
so lets get started with the tear down. not to difficult but this is how I went about it. let me know if you have questions and I can get into more details.
pop off hood should be easy lift it all the way and pull out.
next I remove the stairs. there is a tab under the first step pull up on the tab to let the stairs slide out.
next the exhaust is removed. there is a tab beside the stairs which needs to be pressed toward the engine. the next tab is on the engine and should be pushed toward the cab.
Now the hard stuff! the Cab has 4 tabs to remove from the chassis. they are all part of the glass. 2 tabs on the back and 2 tabs on the front.
you will have to slide a thin pik to push the tabs away from the chassis and pull up. pictures dont really help with how but hopefully you see where they are in relation to the body of the tractor.
with that out of the way you can cut the axle in 2 pieces to remove the rear tires.
still with me? ok well now comes the task of popping off all the clips holding the chassis together. there are some hidden but we will worry about that after. for now. gently lift the ones you can see and slowly move them apart or stick a screwdriver in there to keep them apart. There are a lot of tabs so take your time. I believe I might have missed a few inside there the black radiator is.
Hope that helps for the breakdown. next time we will start working on making the modifications with the new motors and wheels.