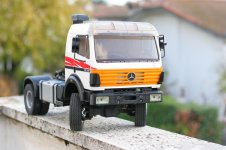
Update: Self built axles - Winter 2018/2019
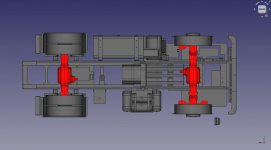
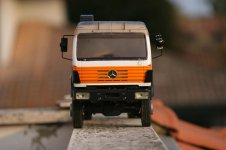
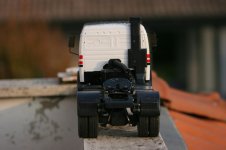
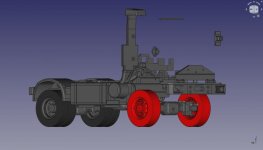
While I was updating my Mercedes 1830 I started thinking about self producing the axles. In fact they were the only part of my truck that I did not produce myself. Tamiya axles are strong, quite cheap and strong enough for the job, but.... They are far from being realistic. That is something that has always puzzled me... Tamiya trucks are nice and realistic, but their axles are not. Honestly I do not understand the reason, it would be easy for them to create a realistic axle, come on... Anyway, real Mercedes axles are really unique: they are flat and wide instead of resembling a sphere.
So I looked for an affordable differential and I found a very cheap metal upgrade for some chinese 1:10 scaler.

So I ordered a couple of them and once they arrived I took them apart:
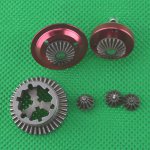
It seemed strong enough for my truck and it was easily modifiable for lockers.
So I designed the axle lock:
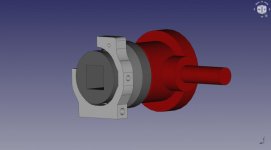
front axle case, designed to receive Tamiya TLT knuckles and shafts (so I did not have to modify anything in the steering):
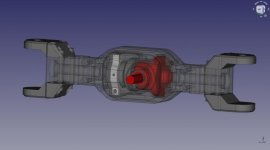
and rear axle case:
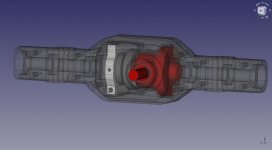
Holes were designed to be the same as Tamiya axles so they are easily swappable.
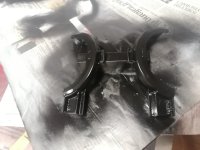
Then I 3Dprinted it and assembled everything. I used a square ALU block to fix the lock ring on one shaft and I used longer bolts on the diff case. Once the ring moves toward the diff case it locks on the bolts and both shafts turns at the same speed.
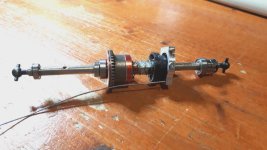
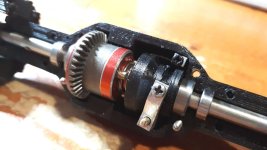
Locking ring was made with simple PLA but for the fork I used my CNC router and I made it with ALU (in the following picture it is still made by PLA, but I replaced it soon).
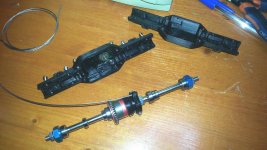
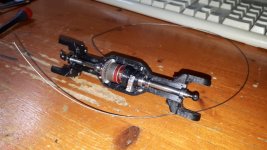
Here are the finished axles with lockers wires:
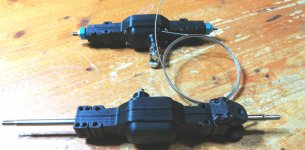
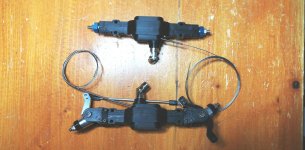
And here is the front axle seen by front , similar enough to the real Mercedes axle. It also can use the arm I did to move the bar behind the axle (for Ackermann):
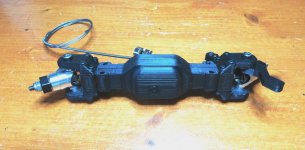
Having both axles lockable was a major upgrade and it ended the 2018 updates. There were still something that was missing, like cab internals or lights, but for some time I dedicated myself to other projects and left my Mercedes alone.
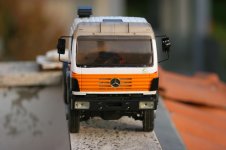
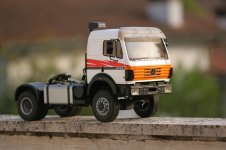
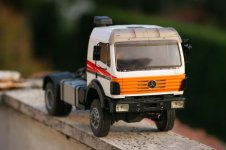
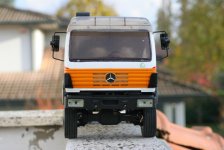
A last picture showing the front axle mounted on the truck:
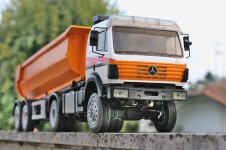

While I was updating my Mercedes 1830 I started thinking about self producing the axles. In fact they were the only part of my truck that I did not produce myself. Tamiya axles are strong, quite cheap and strong enough for the job, but.... They are far from being realistic. That is something that has always puzzled me... Tamiya trucks are nice and realistic, but their axles are not. Honestly I do not understand the reason, it would be easy for them to create a realistic axle, come on... Anyway, real Mercedes axles are really unique: they are flat and wide instead of resembling a sphere.
So I looked for an affordable differential and I found a very cheap metal upgrade for some chinese 1:10 scaler.

So I ordered a couple of them and once they arrived I took them apart:

It seemed strong enough for my truck and it was easily modifiable for lockers.
So I designed the axle lock:

front axle case, designed to receive Tamiya TLT knuckles and shafts (so I did not have to modify anything in the steering):

and rear axle case:

Holes were designed to be the same as Tamiya axles so they are easily swappable.
Then I 3Dprinted it and assembled everything. I used a square ALU block to fix the lock ring on one shaft and I used longer bolts on the diff case. Once the ring moves toward the diff case it locks on the bolts and both shafts turns at the same speed.


Locking ring was made with simple PLA but for the fork I used my CNC router and I made it with ALU (in the following picture it is still made by PLA, but I replaced it soon).


Here are the finished axles with lockers wires:


And here is the front axle seen by front , similar enough to the real Mercedes axle. It also can use the arm I did to move the bar behind the axle (for Ackermann):

Having both axles lockable was a major upgrade and it ended the 2018 updates. There were still something that was missing, like cab internals or lights, but for some time I dedicated myself to other projects and left my Mercedes alone.
A last picture showing the front axle mounted on the truck:


